Why It’s Time to Retire the Foil Test: Moving Toward Soil Indicators for Ultrasonic Cleaning Verification
For decades, the aluminum foil test has been the go-to method for checking ultrasonic cleaners in dental, medical, and laboratory settings. It’s simple, inexpensive, and provides a visual confirmation that cavitation, the core cleaning action of an ultrasonic unit, is happening. But as our understanding of infection prevention and control has evolved, so too has the need for more accurate, clinically relevant verification methods.
The truth is, while the foil test might tell you that your ultrasonic unit is producing bubbles, it can’t tell you whether it’s actually cleaning instruments to the standard required for patient safety. This is where soil indicators come in.
The Limits of the Foil Test
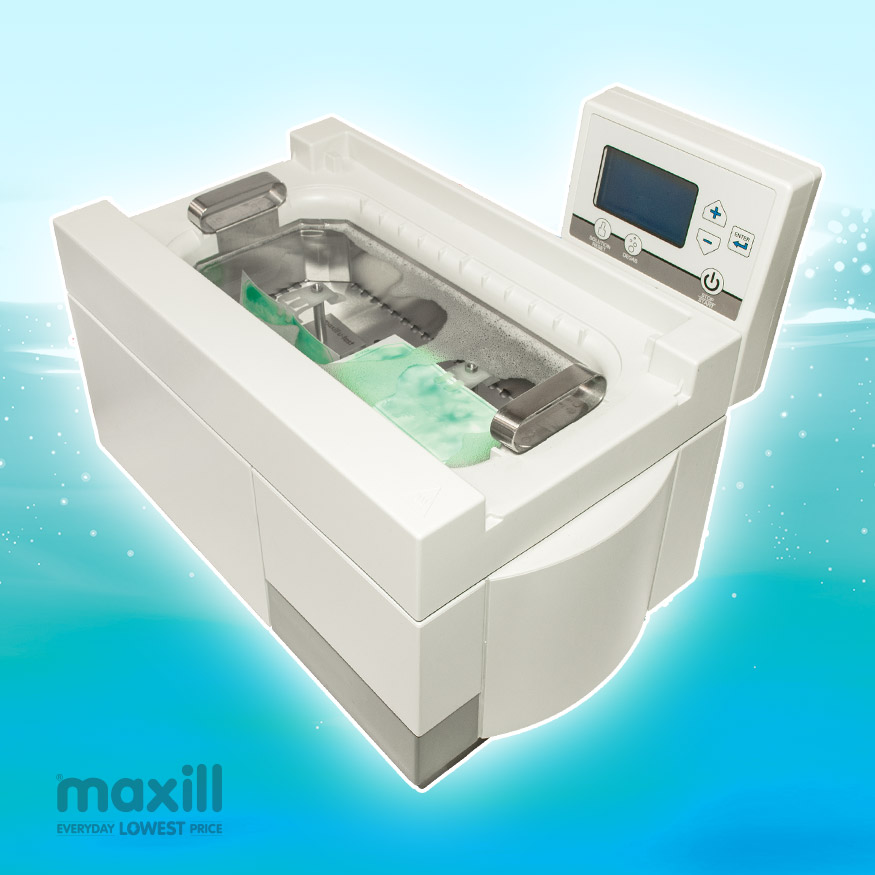
The foil test works by running the ultrasonic cycle with pieces of aluminum foil suspended in the tank, then inspecting for pitting or perforations. But here’s a question many offices may not have considered: Did you know the true approach to a foil test is not dangling just one piece of foil, but a series of strips arranged to capture all the cavitation activity across the basin?
The correct method, often unknown or skipped, looks less like a single hanging sheet and more like a lattice cherry pie crust. The ultrasonic opening should be taped with autoclave tape to suspend anywhere from six to twelve pieces of foil, depending on the unit size, so the entire cleaning field is evaluated.
Unfortunately, many offices dangle only one piece of foil, missing large areas of the tank and getting a false sense of assurance. Even when done correctly, the foil test still only measures cavitation energy, it doesn’t simulate real cleaning challenges.
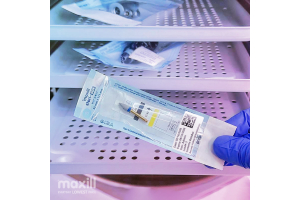
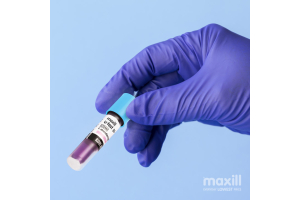
Why Soil Indicators Provide a Better Picture
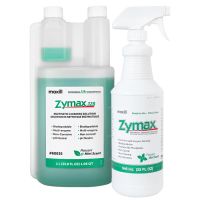
Soil indicators are designed to replicate the types of organic debris actually found on instruments. They test whether the ultrasonic cleaning unit, in combination with the enzymatic cleaning solution and cycle parameters, can remove contamination under realistic conditions.
Unlike the complex, time-consuming setup of a proper foil lattice, soil indicators are simple to use: you de-gas the solution, place the indicators in different zones of the ultrasonic bath, run the cycle, and assess the results. This method not only saves setup time, it provides a direct answer to the real question, are my instruments actually being cleaned?
Manual of the Ultrasonic Bath Says Foil Test? Modern Evidence Says Soil Indicators
Just because your ultrasonic unit’s manual lists the foil test doesn’t mean it’s the gold standard. Ask yourself: is the manufacturer keeping up with evidence-based practices? Soil indicators provide real proof that instruments are clean, something bubbles alone can’t guarantee.
Meeting Modern Standards of Care
Infection prevention guidelines are moving toward evidence-based verification. Best practice means demonstrating not just that a process runs, but that it achieves the intended result. Soil indicators give you measurable, reproducible evidence that your ultrasonic cleaner is doing its job. They also allow for routine, documented monitoring that regulatory bodies increasingly expect. If performance declines, soil indicators help detect it early, before patient safety is put at risk.
Switching from the foil test to soil indicators isn’t about making things more complicated, it’s about making them more relevant and reliable. The foil test, even when done correctly with a full lattice of strips, still only checks bubble activity. Soil indicators check cleaning effectiveness under actual conditions. Looks like its time to retire your foil test!
Michelle Aubé (Simmonds) RDH, maxill Dental Hygiene Educator
Michelle is a Dental Hygiene Speaker, Consultant and Educator with over 30 years of experience as a RDH and 4 years as a CDA. She is a professor and curriculum writer at Fanshawe College in both the dental hygiene and continuing education program sharing her knowledge in IPAC, professional practice, periodontal classification, social justice, advocacy and clinical applications. She is maxill's CE and IPAC Director and wears various IPAC hats including auditing federal correctional facilities dental clinics for IPAC standards. Michelle is ODHA's Regional Board Director and authors articles for CDHA's OH Canada professional publication and continues to practice clinically in London ON. She is a CDHO IPAC Remedial Facilitator and IPAC Expert Opinion. Her strong ethics has allowed her to serve on the Discipline Committee at Algonquin College and hold the position of a CDHO Quality Assurance Assessor for 7 years. As a lifelong learner she is completing a BA in Adult Education at Brock University. Her diverse dental background and current status as a practicing RDH offer a fulsome and realistic view of dental-related topics. As a passionate champion for the profession, she advocates for equity, professional autonomy, and systemic change, true grassroots leadership at its finest.
Michelle can be reached at [email protected]
Thanks for reading our latest blog article! If you've got a topic you'd like to see us tackle next, please submit your suggestion to our blog writing team of dental professionals at [email protected].