
Chairside Setup for SDF: Building the Armamentarium
The caries risk assessment is complete. The lesion has been assessed. The indications point to SDF as an appropriate treatment option.
Now it is time to set up.
SDF application itself is simple, but the armamentarium around it matters. A thoughtful setup helps the clinician control the material, maintain a dry field, improve visibility and reduce the risk of unintended contact or staining.
The broader clinical workflow remains:
SCREEN. DISPENSE. ISOLATE. APPLY. PROTECT.
But once SCREEN is complete, the chairside setup begins with gathering the right armamentarium.
Start With the Setup Surface
Before dispensing SDF, think about what is sitting between the material and the operatory counter. SilverSense SDF can stain countertops, floors, instruments, clothing and skin brown or black. The Canadian Instructions for Use specifically caution clinicians to avoid spills and transferring material from gloved hands to other surfaces.
That makes it important to create a defined SDF work zone before opening the bottle.
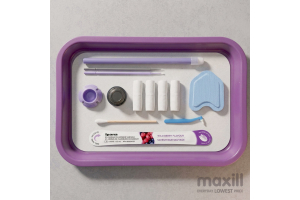
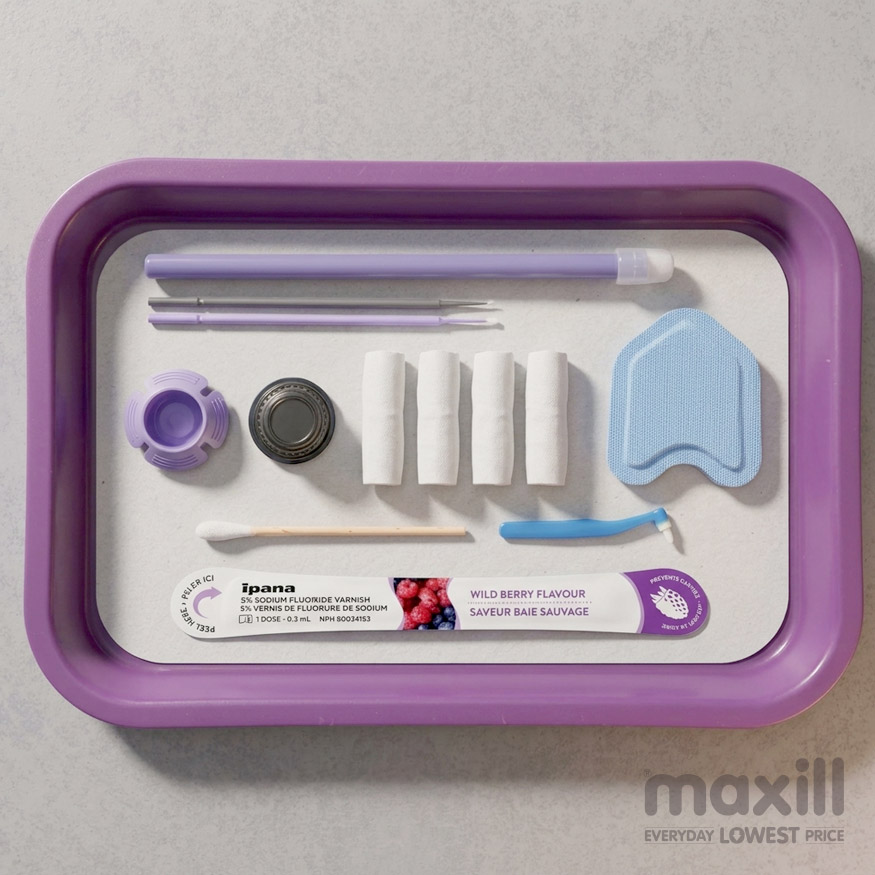
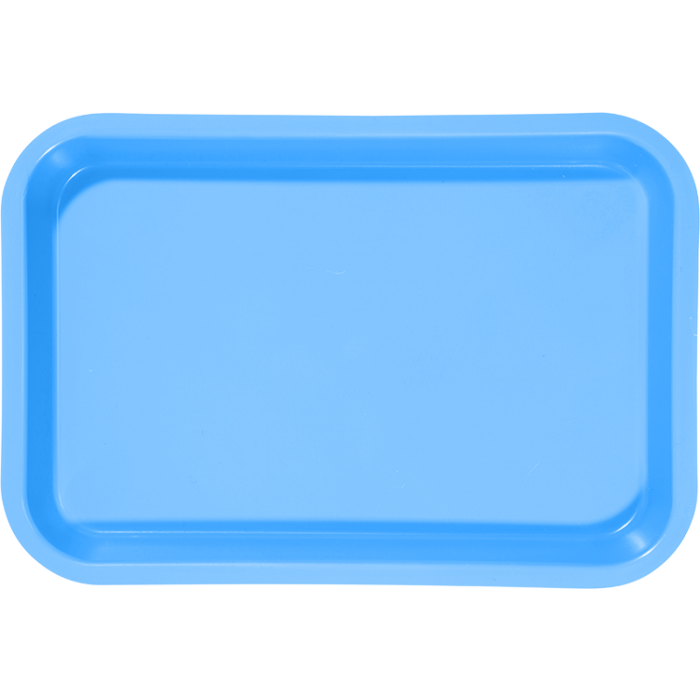
A small procedure tray provides a designated surface for the SDF bottle, disposable Dappen dish and applicators. It also helps keep the setup together rather than placing the dispensing dish directly on the operatory counter. A small tray with non-slip feet can help provide stability and create a practical interface between the SDF materials and the countertop.
Protect the work surface. Organize the setup. Keep everything within reach.
Gather the Armamentarium Before Opening the Bottle
SDF is not the type of material you want to dispense and then discover that something is missing.
Before beginning, gather what is needed to:
- Protect and organize the working surface
- Dispense the SDF
- Control saliva
- Dry the lesion
- Maintain visibility
- Apply the material precisely
- Support the client's ongoing caries-management plan
A simple setup may include:
Procedure tray + disposable Dappen dish + isolation materials + suction + drying aids + micro-applicator + fluoride varnish where clinically indicated.
Once everything is within reach, the SDF can be dispensed.
DISPENSE: Keep the Drop Controlled
SDF is used in a very small quantity.
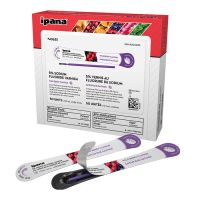
For SilverSense SDF, the Canadian Instructions for Use direct the clinician to dispense 1–2 drops into a disposable Dappen dish. Each drop is approximately 0.03 mL, and the manufacturer states that this amount can treat up to five sites per client.
The Dappen dish should be stable and positioned within the defined SDF work zone. Dispense only what you need. Use caution when handling SDF, as it can stain hard surfaces and clothing.
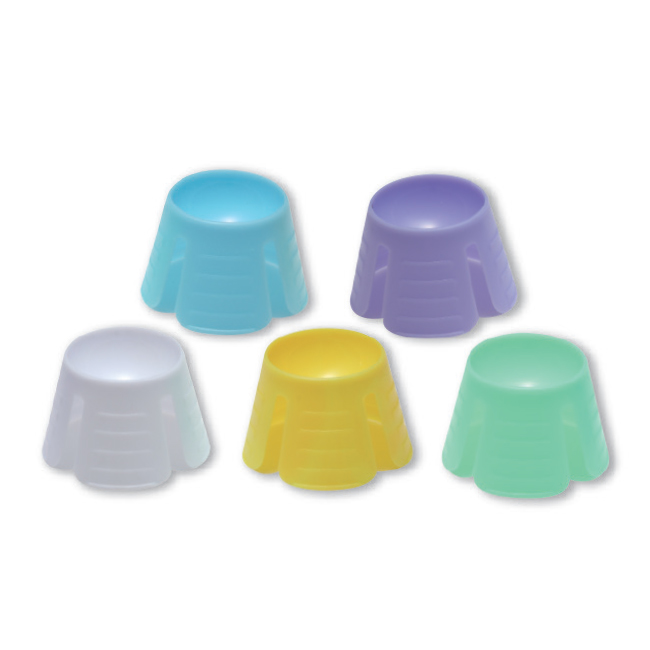
For SilverSense application specifically, the manufacturer directs the use of a disposable Dappen dish.
ISOLATE: Build a Dry, Visible Field
Once the material is ready, the next priority is access and moisture control.
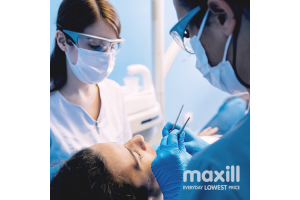
The clinician should be able to clearly see the lesion, control saliva and adequately dry the treatment site before application.
The exact combination of isolation tools will depend on:
- Lesion location
- Salivary flow
- Client tolerance
- Accessibility
- Clinical environment
Useful chairside options may include:
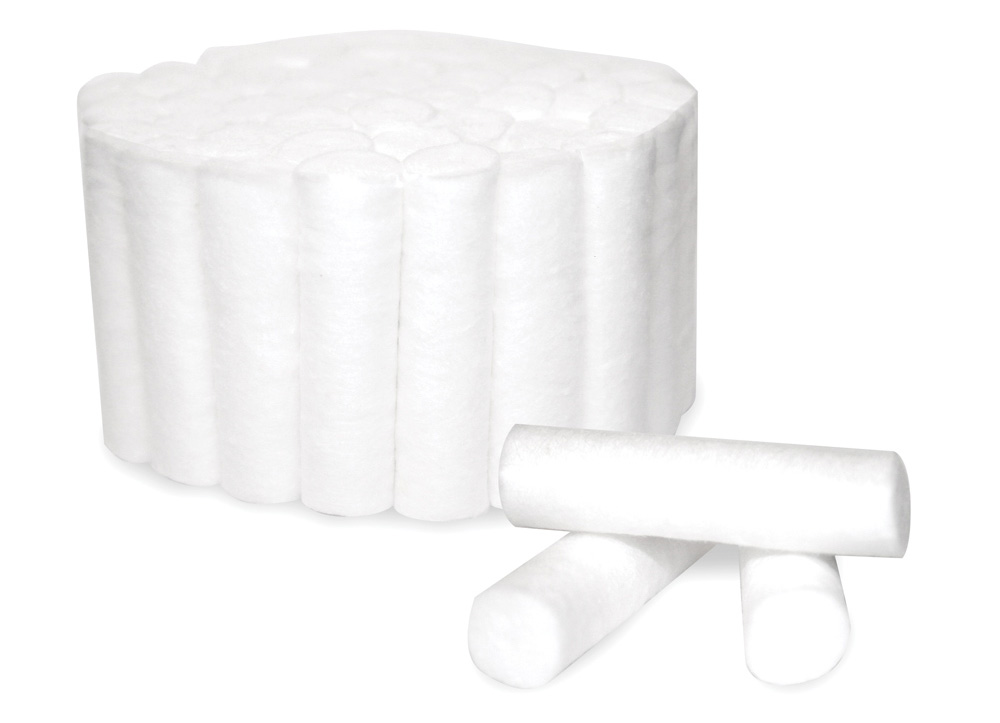
- Cotton rolls
- Gauze
- Dry angles or parotid absorbers
- Cotton tip applicators
- Saliva evacuation
- Suction mirrors
- Rubber dam
Cotton rolls and gauze provide general moisture control, while cotton tip applicators can be helpful for localized drying immediately around the lesion, particularly in smaller or difficult-to-access areas.
Parotid absorbers may provide additional saliva control where needed.
A suction mirror can be especially useful because it combines evacuation, moisture control, retraction and visibility, helping the clinician maintain a clear field without repeatedly switching between a mirror and suction.
The SilverSense MIFU specifically instructs clinicians to isolate the affected tooth, clean and dry the surface, and minimize contact with gingiva and mucosa. Cotton rolls or a rubber dam may also be used to protect gingival tissues.
Access the lesion. Control the moisture. Dry the site. Maintain visibility.
APPLY: Choose Control Over Size
SDF is a liquid used in a very small quantity, so the applicator matters.
The goal is deliberate placement on the intended lesion while reducing the risk of unintended contact with adjacent tooth surfaces and soft tissues.
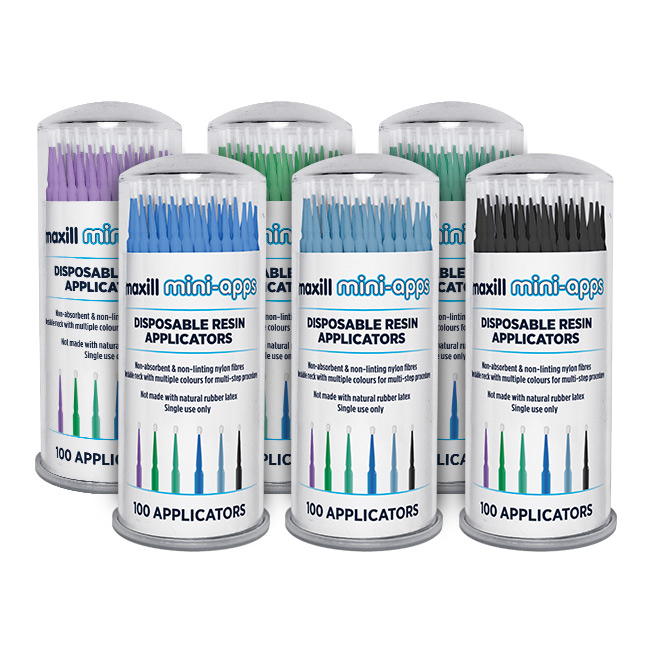
Micro-applicators are therefore particularly well suited to SDF placement because their small tips can help:
- Control the amount of liquid carried to the lesion
- Improve placement precision
- Reach small or difficult-to-access areas
- Reduce unintended contact with adjacent tissues
The applicator size can be selected according to lesion size, tooth location, accessibility and clinician preference. For highly controlled placement, 1.2 mm and 1.5 mm micro-applicators are especially strong options.
PROTECT: Have the Next Step Ready
The SDF appointment should not end with application alone.
The client's broader caries-management strategy may also include:
- Professional fluoride therapy
- Home fluoride recommendations
- Biofilm management
- Oral hygiene support
- Dietary counselling
- Reassessment
- Reapplication where indicated
- Definitive restorative treatment when appropriate
If fluoride varnish forms part of the selected clinical protocol, having it included in the chairside setup allows the appointment to move smoothly from lesion management into the broader preventive phase.
The point is not to add unnecessary products to the tray. It is to make sure the entire planned appointment is ready before treatment begins.
A Note on Site Preparation
There are situations where the treatment site may benefit from simple preparation before isolation and application.
The SilverSense IFU directs the clinician to clean and dry the affected tooth surface before application.
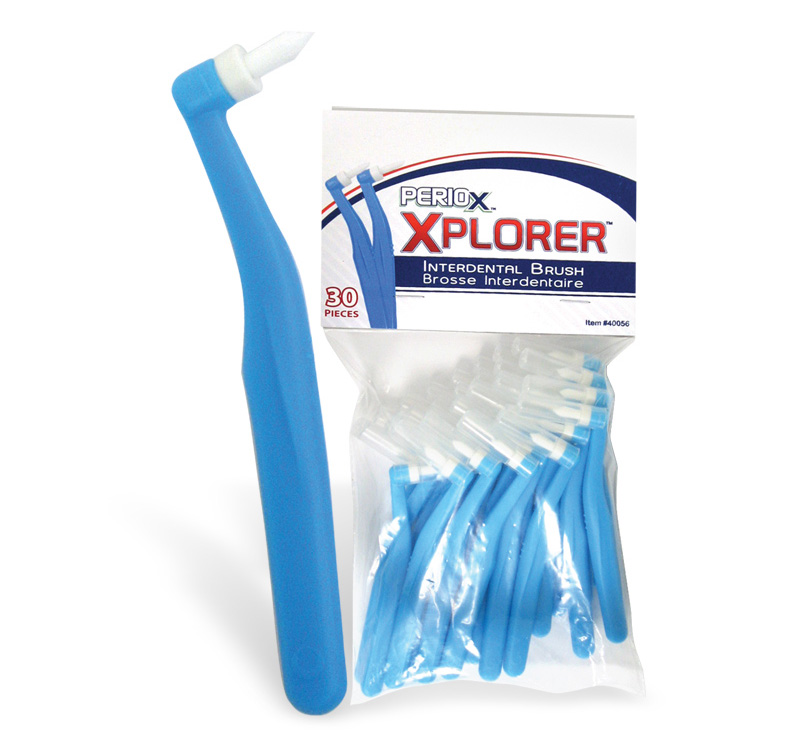
In long-term care, mobile dentistry, domiciliary care or for clients who cannot tolerate conventional instrumentation, a small interdental or tufted brush may help remove accessible plaque and debris from the treatment site before drying.
The goal is to improve access and visibility and create a cleaner surface for controlled SDF placement.
This should be considered a site-preparation aid for plaque and debris removal, not a replacement for clinically indicated debridement, restorative care or other definitive treatment.
What Does the Complete SDF Setup Look Like?
The setup does not need to be complicated. It needs to be organized!
Creates a designated SDF work zone between the dispensing materials and the operatory counter. Non-slip feet help provide stability while keeping the setup contained.
The disposable Dappen dish is the manufacturer-directed SilverSense dispensing option.
Supports saliva management, localized drying, visibility and access to the lesion.
Provides a range of applicator sizes. The 1.2 mm and 1.5 mm mini-apps are especially suited to precise control of the liquid and reducing unintended contact with adjacent tissues.
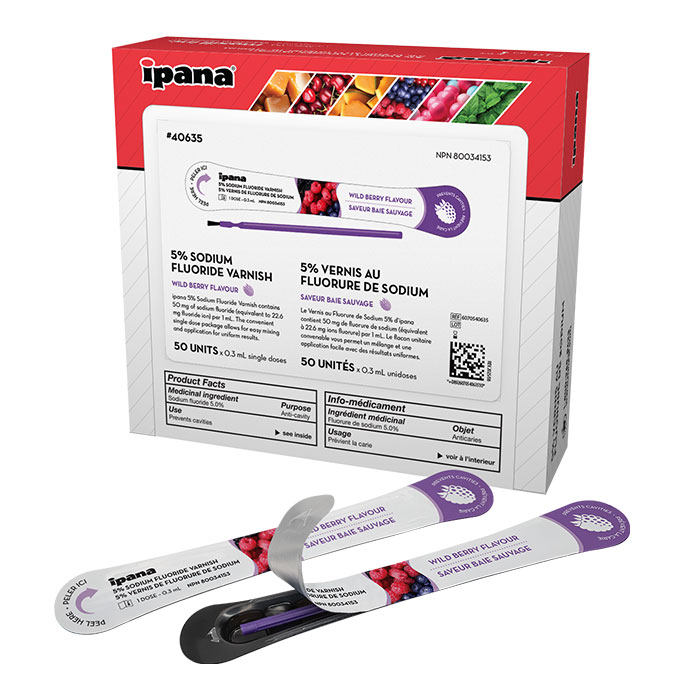
Supports the ongoing fluoride and caries-management plan where clinically indicated.
May help remove accessible plaque or debris before SDF placement in long-term care, mobile/domiciliary care or when conventional instrumentation is difficult or poorly tolerated.
A Small Drop Deserves a Thoughtful Setup
SDF does not require an elaborate armamentarium. But it does benefit from the right one.
A protected work surface, controlled dispensing, effective isolation, a precise applicator and a plan for what comes next can make the procedure simpler for the clinician and more controlled at chairside.
And as it happens, maxill has the pieces to build the complete SDF setup.

Michelle Aubé (Simmonds) RDH, maxill Dental Hygiene Educator
Michelle is a Dental Hygiene Speaker, Consultant and Educator with over 30 years of experience as a RDH and 4 years as a CDA. She is a professor and curriculum writer at Fanshawe College in both the dental hygiene and continuing education program sharing her knowledge in IPAC, professional practice, periodontal classification, social justice, advocacy and clinical applications. She is maxill's CE and IPAC Director and wears various IPAC hats including auditing federal correctional facilities dental clinics for IPAC standards. Michelle is ODHA's Regional Board Director and authors articles for CDHA's OH Canada professional publication and continues to practice clinically in London ON. She is a CDHO IPAC Remedial Facilitator and IPAC Expert Opinion. Her strong ethics has allowed her to serve on the Discipline Committee at Algonquin College and hold the position of a CDHO Quality Assurance Assessor for 7 years. As a lifelong learner she is completing a BA in Adult Education at Brock University. Her diverse dental background and current status as a practicing RDH offer a fulsome and realistic view of dental-related topics. As a passionate champion for the profession, she advocates for equity, professional autonomy, and systemic change, true grassroots leadership at its finest.
Michelle can be reached at [email protected]
Thanks for reading our latest blog article! If you've got a topic you'd like to see us tackle next, please submit your suggestion to our blog writing team of dental professionals at [email protected].